Roblox is not just a gaming platform—it’s also a powerful game development tool that allows anyone to create their own experiences.
Whether you’re an aspiring game developer or just curious about how games are made, learning how to make a game in Roblox can be both fun and rewarding. In this in-depth guide, we’ll walk you through everything you need to know to create, design, and publish your very own game.
From setting up Roblox Studio to scripting with Lua, this step-by-step tutorial covers everything to help you bring your game idea to life.
Why Create a Game in Roblox?
Roblox offers a unique opportunity for aspiring game developers:
- Easy to Learn: Roblox Studio provides beginner-friendly tools for creating games.
- Massive Player Base: Millions of players worldwide can discover and play your game.
- Earn Robux: Developers can monetize their games through in-game purchases and premium features.
- Endless Creativity: You can create any type of game, from obstacle courses (Obbys) to role-playing adventures.
- Learn Game Development Skills: Roblox teaches you coding, game design, and monetization strategies.
- Collaborate with Others: Work with friends or a team using Roblox’s Team Create feature.
Step 1: Install and Set Up Roblox Studio
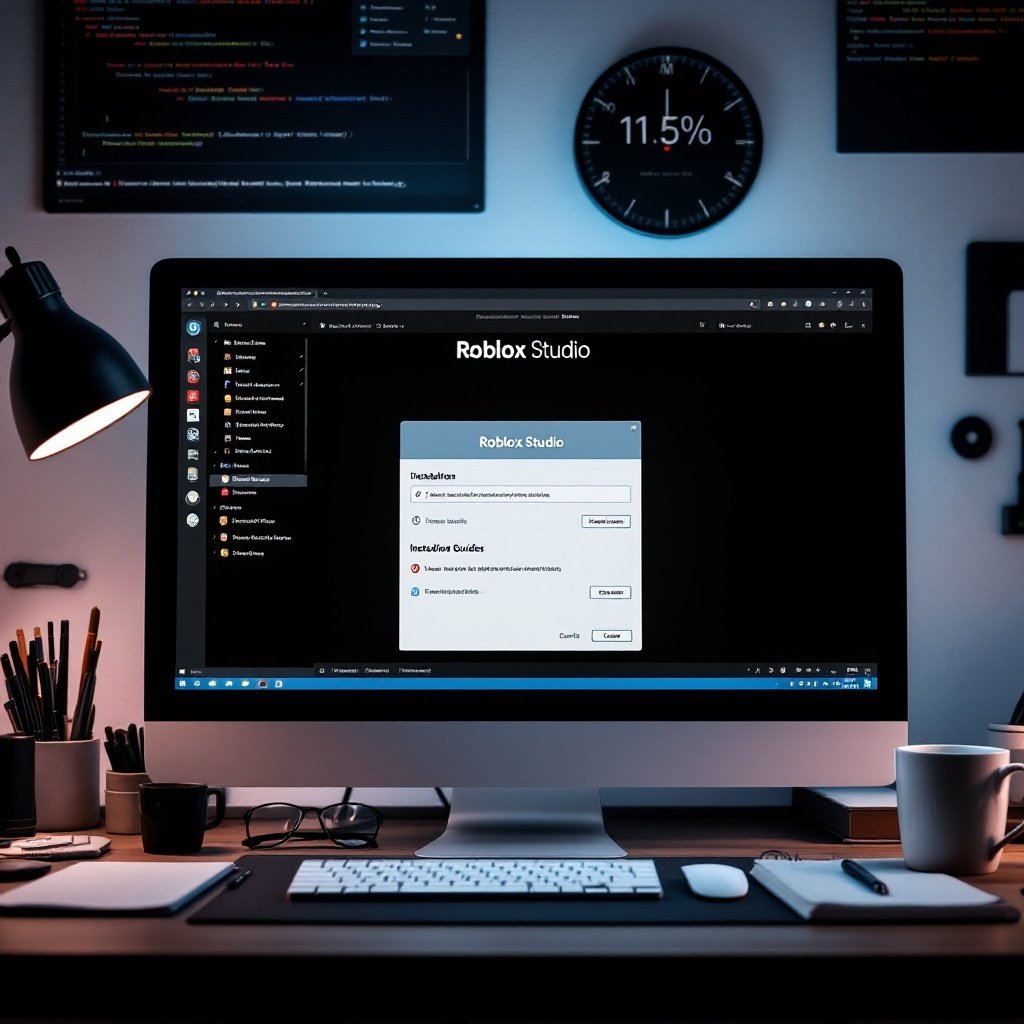
To start making a game in Roblox, you need Roblox Studio, which is the official game development tool.
How to Install Roblox Studio:
- Go to the Roblox website and click Start Creating.
- Download and install Roblox Studio.
- Open Roblox Studio and log in with your Roblox account.
Step 2: Choose a Game Template
Roblox Studio offers a variety of pre-made templates that can help you get started. Here’s how to pick one:
- Open Roblox Studio and click on New.
- Browse through templates like Obby, Racing, City, Baseplate, and more.
- Select a template and start customizing it.
Templates are great for beginners, but you can also start with an empty Baseplate if you want to build from scratch.
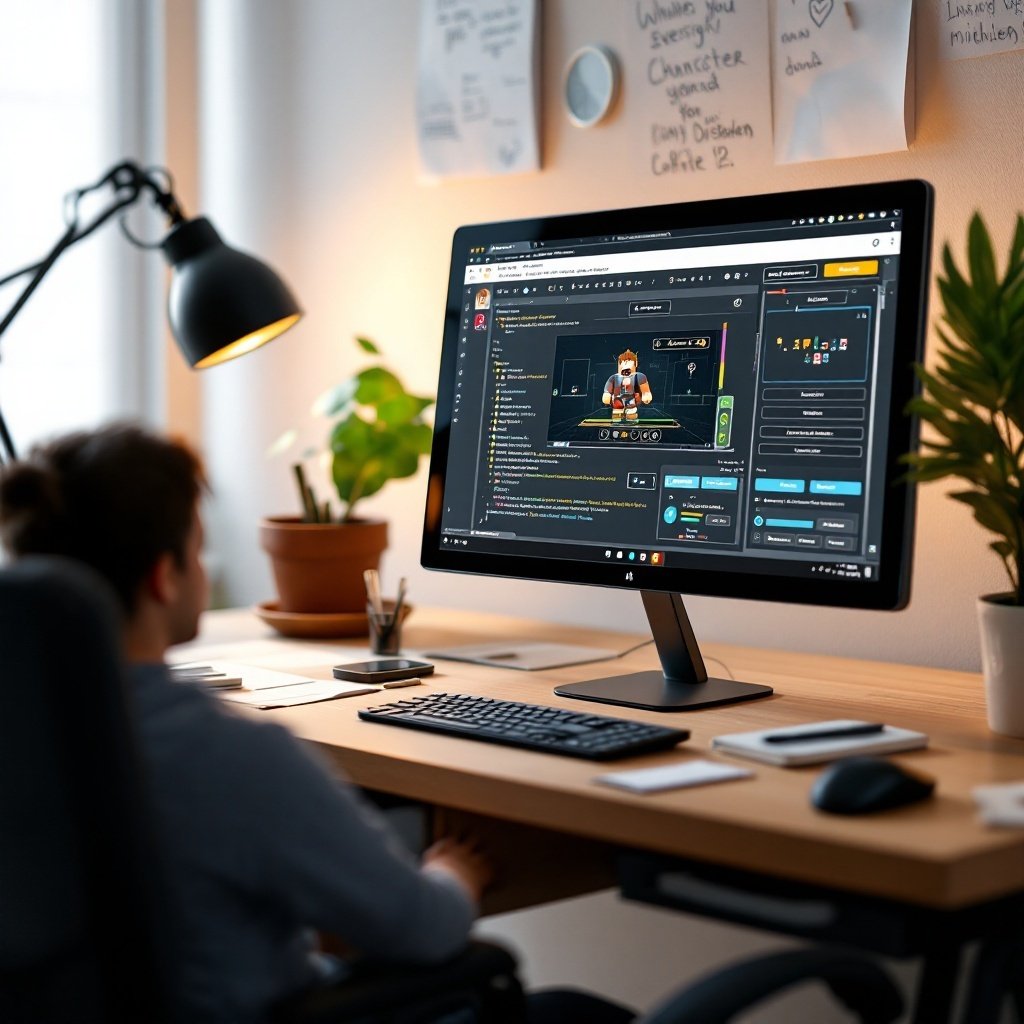
Step 3: Learn the Basics of Roblox Studio
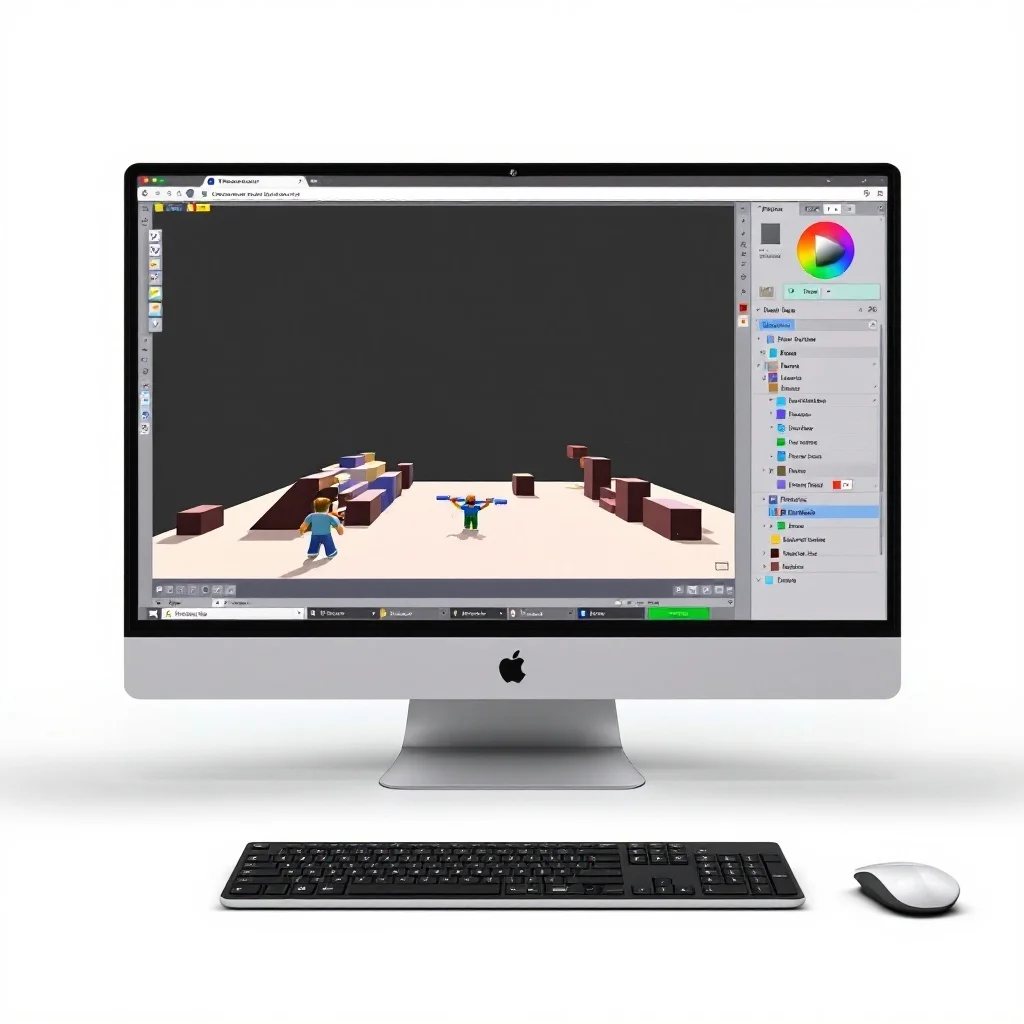
Roblox Studio consists of different tools that help you design and develop your game:
- Explorer Panel: Shows all objects in your game.
- Properties Panel: Allows you to edit the details of objects.
- Toolbox: Provides free models, sounds, and assets.
- Terrain Editor: Helps you create landscapes and environments.
Spend some time exploring these features to understand how they work.
Step 4: Build Your Game World
To make a game in Roblox, you need to create the environment where players will interact.
How to Add Objects and Parts:
- Click on Part in the Home tab to create blocks, spheres, or cylinders.
- Resize and move objects using the Scale, Move, and Rotate tools.
- Use the Material and Color options to change the appearance of objects.
- Add lighting and effects to enhance the atmosphere.
- Utilize terrain tools to create realistic landscapes, mountains, or water.
You can also add free models from the Toolbox, but be careful—some might contain scripts that could affect your game.
Step 5: Learn Basic Scripting with Lua
Roblox uses a programming language called Lua for scripting. Scripts allow you to create interactive elements like doors, leaderboards, and game mechanics.
How to Add a Script in Roblox:
- Right-click on an object in Explorer.
- Select Insert Object → Script.
- Double-click the script and write basic Lua code, such as:
print("Hello, Roblox!")- Click Run to test your script.
Step 6: Add Gameplay Features
Your game needs objectives and mechanics. Here are some ideas:
- Obby: Create obstacles and checkpoints.
- Tycoon: Add buttons to purchase upgrades.
- Survival: Implement enemy AI using scripts.
- Roleplay: Design a city with interactive buildings.
- FPS: Add weapons and combat mechanics.
- Story-based: Include quests and dialogues.
Adding scripts to doors, teleporters, or leaderboards makes the game more engaging.
Step 7: Test and Debug Your Game

Before publishing, you need to test your game:
- Click Play in Roblox Studio to try it out.
- Look for errors in the Output Panel.
- Fix issues using debugging tools and by adjusting scripts.
- Ask friends to playtest and give feedback.
Testing ensures your game runs smoothly for players.
Step 8: Publish and Share Your Game
Once your game is ready, you can publish it to Roblox:
- Click File → Publish to Roblox As…
- Enter a game name and description.
- Set game permissions (Public or Private).
- Click Create Place to publish your game.
After publishing, promote your game using social media, YouTube, and Roblox groups to attract players.
Step 9: Monetize Your Game with Robux
If you want to earn Robux, consider these monetization options:
- Game Passes: Sell special abilities or items.
- Developer Products: Offer one-time purchases like speed boosts.
- Premium Benefits: Give extra perks to Roblox Premium members.
- Ads & Sponsorships: Run in-game ads for Robux.
To enable monetization, go to Monetization Settings in Roblox Studio.
How to Get Free Robux (Legit and Safe Methods)
More Advanced Scripting Examples
To take your Roblox game to the next level, incorporating more advanced scripting techniques can significantly enhance the gameplay experience. Here are a few examples:
1. Creating a Shop System
A shop system allows players to purchase items using in-game currency. Here’s a basic Lua script for a shop:
local player = game.Players.LocalPlayer
local currency = player:FindFirstChild("leaderstats").Coins
local itemPrice = 100

script.Parent.MouseButton1Click:Connect(function()
    if currency.Value >= itemPrice then
        currency.Value = currency.Value - itemPrice
        print("Item Purchased!")
    else
        print("Not enough coins!")
    end
end)
2. Implementing a Timer Countdown
A countdown timer can be useful for time-limited challenges or rounds.
local timeLeft = 60
while timeLeft > 0 do
    timeLeft = timeLeft - 1
    script.Parent.Text = "Time Left: " .. timeLeft
    wait(1)
end
print("Game Over!")
Game Optimization Tips
Optimization is crucial for ensuring a smooth gaming experience. Here are some best practices:
- Reduce Part Count: Use meshes instead of multiple small parts.
- Efficient Scripting: Use local scripts for UI-related elements and limit excessive loops.
- Streaming Enabled: Enable StreamingEnabled in game settings to improve loading times.
- LOD (Level of Detail): Implement distance-based rendering for large maps.
How to Add Music & Sound Effects
Sound effects and background music add immersion to a game. To add a sound:
- Insert a Sound Object into a Part.
- Set the SoundId property to an audio file from the Roblox Library.
- Use the following script to play the sound:
local sound = script.Parent.Sound
sound:Play()
UI & HUD Design
A well-designed UI enhances player experience. Consider adding:
- Health Bars
- Scoreboards
- Inventory Systems
- Mini-Maps
Use ScreenGuis to create interactive HUD elements.
Marketing Your Game
Getting players to notice your game requires strategic marketing:
- Create a Game Trailer and upload it to YouTube.
- Leverage Social Media (Twitter, TikTok, Discord).
- Collaborate with Influencers to showcase gameplay.
- Engage with Roblox Groups and communities.
Common Mistakes to Avoid
Here are some common pitfalls for new developers:
- Using too many free models (can contain malicious scripts).
- Ignoring game balancing (overpowered mechanics make gameplay unfair).
- Not testing thoroughly (always test with different player counts).
Best Free & Paid Assets for Roblox Developers
- Free: Roblox Toolbox, DevForum resources, Community Plugins.
- Paid: Blender for 3D modeling, Advanced AI scripts, Custom UI packs.
Expanding & Updating Your Game
Keeping your game fresh is key to player retention. Consider:
- Adding Seasonal Events (Halloween, Christmas updates).
- Introducing New Levels or Quests.
- Listening to Player Feedback and improving based on suggestions.
By constantly updating and refining your game, you can ensure long-term success in the Roblox community.
Conclusion
Making a game in Roblox is an exciting way to express creativity and develop valuable skills. Whether you’re building a simple Obby or a full-fledged RPG, following this guide will help you create, test, and publish your first Roblox game successfully. Keep learning, experiment with scripting, and have fun!
Are you ready to build your first game? Let us know in the comments below!